CS2 Aim Improvement Blueprint: Crosshair, Recoil, Routine
CS2 — Aim Improvement Blueprint: Crosshair Placement, Recoil, and Daily Routine
Improving your aim in CS2 isn’t about chasing a perfect sensitivity or grinding deathmatch for six hours straight. It’s about building a repeatable system: crosshair placement (where your aim starts), recoil control (how you manage your aim once you shoot), and a daily routine (how you turn good days into reliable performance).
This blueprint is designed to be timeless. Maps change, meta shifts, and weapon values get tweaked—but the skills that make you win aim duels stay the same. If you follow the plan below for a few weeks, you’ll feel the difference: fewer panic sprays, faster first-bullet connections, better multi-kill control, and more confidence holding angles.
The 3 Principles of Real Aim Improvement
1) Aim starts before you shoot
In CS2, the biggest aim gap between ranks is rarely raw mouse control. It’s where the crosshair is when the duel begins. If your crosshair is already near the enemy’s head, your “aim” becomes a small correction. If your crosshair is at the floor or on the wall, you need a huge flick under pressure—and that’s when misses happen.
2) Recoil is a skill, but discipline is the multiplier
Most players don’t lose duels because they can’t control recoil at all. They lose because they choose the wrong shooting method: they spray when they should tap, they wide-swing when they should shoulder-peek, or they keep holding mouse1 after the first miss instead of resetting.
3) Improvement comes from “high-quality reps,” not volume
If your practice is mindless, you’re just reinforcing your current habits. High-quality reps are deliberate: one skill at a time, measurable goals, short sessions, frequent review. That’s why this guide includes routines that work even if you only have 15 minutes per day.
Setup That Actually Matters (Without Overthinking)
Sensitivity: pick stable, then stop changing it
A “perfect” sensitivity doesn’t exist. What matters is that your sensitivity is stable long enough for your brain to build accurate motor patterns. If you constantly tweak, you reset the adaptation process.
- Rule: Choose a sensitivity you can control for small adjustments and still turn comfortably, then keep it for at least 2–4 weeks.
- Practical test: Track a moving bot/player smoothly without jitter, and still be able to 180° in one swipe if needed.
Mouse grip and posture: consistent is better than “ideal”
You don’t need a pro posture. You need a repeatable posture. The same chair height, the same elbow position, and the same grip pressure reduce randomness. Your goal is to remove “variables” so your practice transfers to ranked.
Crosshair: clear, calm, and readable
A good crosshair is one you can track in motion and read during recoil. Avoid overly complex designs that disappear in bright areas or distract you during bursts. Keep it simple, high-contrast, and consistent.
For official CS2 settings references and command documentation, Valve’s CS2 release and updates are typically posted on Steam News: Steam CS News (App 730).
Crosshair Placement: The Skill That Wins Free Kills
If you want the fastest improvement per hour, prioritize crosshair placement. It reduces your time-to-damage and lowers the mechanical difficulty of every duel. Most “cracked aim” clips are actually strong placement plus good timing.
Head level: the foundation
Head level is not one fixed height. It changes with:
- Distance (closer angles appear higher in your view)
- Elevation (stairs, ramps, boxes, slopes)
- Enemy posture (jumping, crouching, falling off ledges)
Your job is to keep the crosshair where a head is likely to appear, not where a head “usually is.” That means constantly micro-adjusting crosshair height as you move through the map.
Angle discipline: slice the pie
When you clear space, you should not expose yourself to five angles at once. Your crosshair can only cover one likely head at a time. Use a “slice the pie” approach: clear one angle, then the next, keeping your crosshair glued to the highest-probability threat.
Distance to the wall: don’t aim at the corner, aim where the enemy will be
A common mistake is aiming at the edge of a wall. If an enemy swings wide, your crosshair is too close to the corner and you’ll have to flick outward. Instead, place your crosshair slightly away from the wall at a distance that matches the likely swing.
- Tight angles: crosshair closer to the edge (for jiggle/shoulder peeks).
- Wide swings: crosshair farther from the edge (for confident wide-peeks).
Pre-aiming “common head” zones
Every map has common head zones: top of stairs, behind common boxes, default plant areas, doorway frames, and “hold” angles. If you build a library of these zones and pre-aim them, you’ll feel like enemies walk into your crosshair.
Crosshair placement drill (no shooting)
One of the best ways to build placement is to practice without firing. This forces you to focus on alignment, not dopamine.
- Load an aim/practice environment (workshop maps are ideal).
- Walk a route on a map or simulated angles.
- Stop at each corner and “lock” your crosshair at head level where an enemy could appear.
- Move slowly; prioritize precision over speed.
Workshop practice content is typically accessed through Steam Workshop: CS Workshop (App 730). Use reputable maps and community favorites, and keep your routine consistent.
Prefire Thinking: How to Aim Before You See Anyone
“Prefire” isn’t just a map. It’s a mindset: you assume an enemy could be at a common spot and you aim there before you see them. When done correctly, your first bullet connects faster than the opponent can react.
How to build prefire routes
- Pick one side of one map (e.g., T-side entry route).
- List 8–12 common defender positions you frequently face.
- Practice clearing them in a fixed order with clean crosshair placement.
- Repeat the same route until you can do it without thinking.
Prefire with timing (don’t autopilot)
Prefire becomes dangerous when you autopilot it. If you always clear angles at the same speed, enemies can time you. Mix in pauses, shoulder-peeks, or utility usage so you don’t become predictable.
Movement + Aim: Counter-strafe, Peeks, and Accuracy
In CS2, movement and aim are inseparable. Your shots become accurate when your movement is controlled. If your movement is sloppy, your bullets lie to you—and it feels like “my aim is off today.”
Counter-strafe basics
Counter-strafing is the act of stopping your lateral movement quickly so your weapon becomes accurate sooner. In practical terms: if you’re moving left, you tap right to stop, then shoot. The goal is crisp transitions.
Peeking types you should master
- Jiggle/shoulder peek: gather info, bait shots, stay alive.
- Wide peek: challenge a known angle, break crosshair placement.
- Slice peek: clear one angle at a time (best for entry/clearing).
- Ferrari peek (fast swing): situational, high risk, high reward.
Aim while moving: the “ready to stop” rule
As you move, keep your crosshair already aligned to the next angle, and be mentally ready to stop and shoot instantly. Think: crosshair first, body second. Your body follows your crosshair, not the other way around.
Micro-adjustments: less wrist panic
Good players don’t “flick” as much as it seems. They maintain strong placement and make tiny corrections. Train micro-adjustments by practicing slow, controlled head taps rather than fast random flicks.
Recoil Control: Patterns, Bursts, and Spray Transfers
Recoil control in CS2 is a mix of knowledge and feel. You should understand the general pattern of your rifle, but your real skill is choosing the right firing method at the right distance.
Three firing modes: tap, burst, spray
- Tap (1 bullet): long range, high precision, punish peeks.
- Burst (2–5 bullets): medium range, fastest consistent kills.
- Spray (6+ bullets): close range, multi-enemy fights, holding rushes.
Most players spray too early. If you can train yourself to burst more often, your consistency improves quickly.
Recoil reset timing
If your first burst misses, don’t drag a bad spray across the screen hoping it turns into a kill. Reset. A clean second burst is often faster than a messy spray.
Spray transfers (multi-kill control)
Spray transfer is the ability to move your spray from one target to another without fully resetting. It’s most valuable at close-to-mid range when enemies are clustered or trading.
- Commit to a controlled spray on the first target (don’t rush the transfer).
- When the first target is essentially dead, shift the crosshair to the next target smoothly.
- Maintain recoil compensation while moving across.
Recoil practice priorities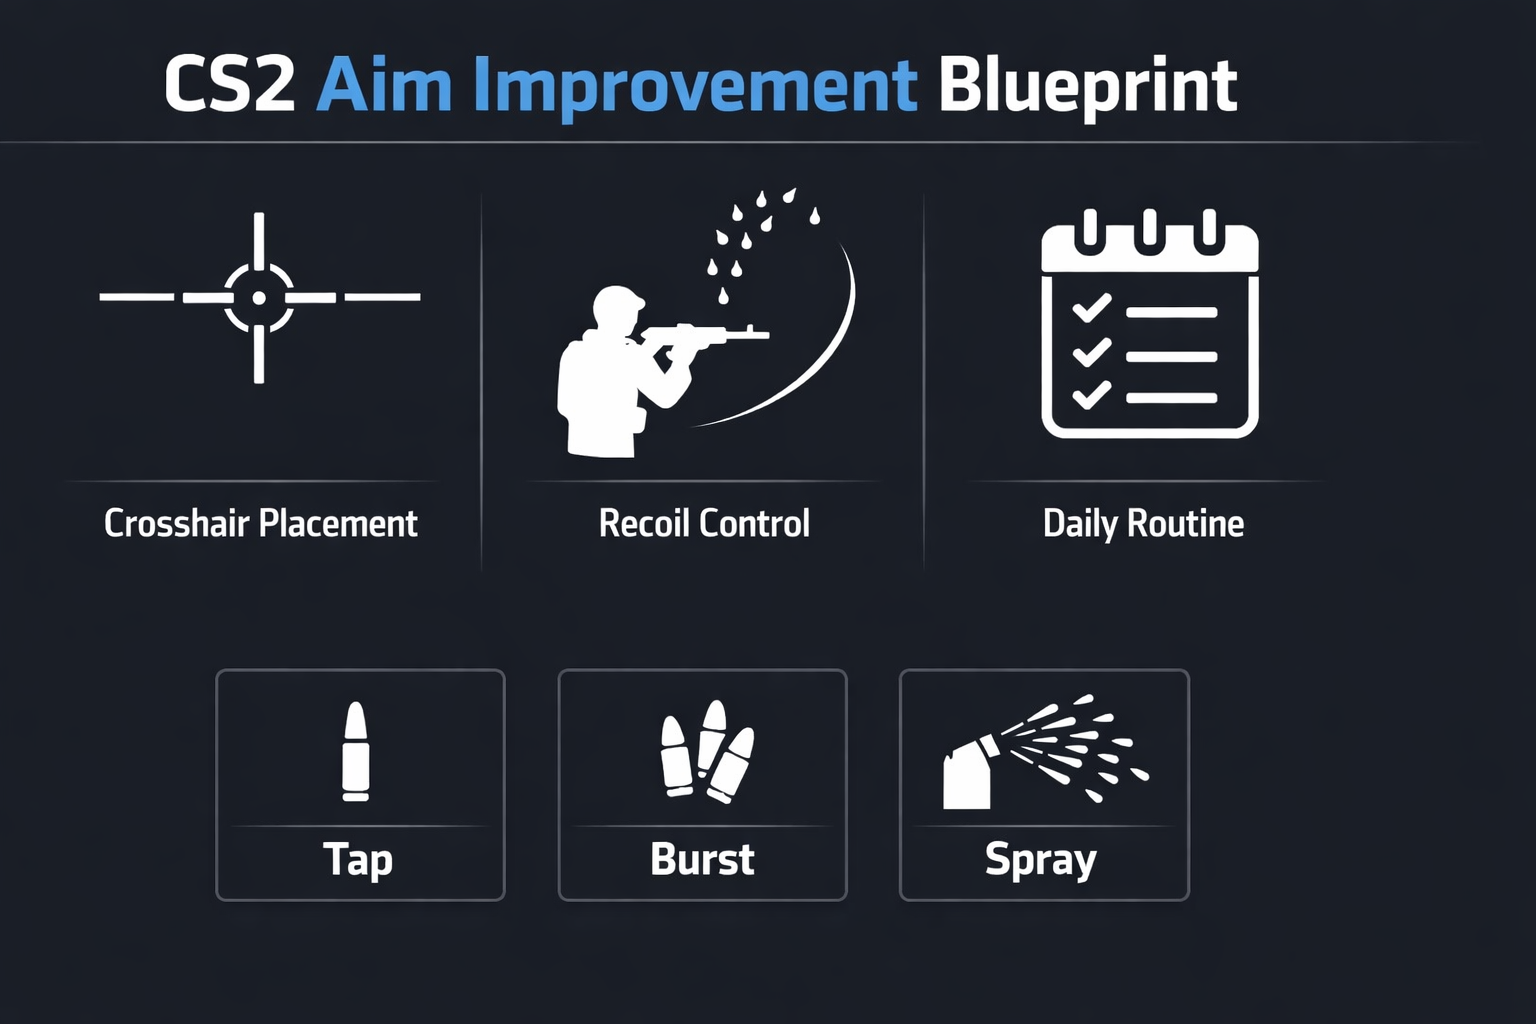
- Priority #1: first 6–10 bullets control (most fights end here).
- Priority #2: burst consistency at medium range.
- Priority #3: longer spray patterns (situational).
Weapon-Specific Aim Notes (AK, M4, AWP, Pistols)
Rifles (AK / M4)
- Rule of thumb: burst more than you think at medium range.
- Head-first mentality: don’t aim “center mass” by habit—train head-level placement as default.
- Spray only when the fight demands it: close angles, rush holds, multi-target trades.
AWP
AWP aim is mostly crosshair placement and timing, not flicking. You want your scope to already be aimed at a likely path of movement. Train “calm holds” and disciplined repositioning after shots. If you miss, don’t panic-repeek.
Pistols
Pistols punish spam. Focus on clean rhythm shots and micro-corrections. In pistol rounds, the player with better head-level placement often looks like they have “insane aim,” even if their mechanics are simple.
Common Aim Mistakes and How to Fix Them
Mistake: aiming too low
Symptom: you land body shots but lose to headshots, or you need an extra correction upward every fight. Fix: in warmup and DM, intentionally keep your crosshair slightly higher than feels comfortable until it becomes normal.
Mistake: shooting while still moving
Symptom: “my bullets don’t register,” “I swear that was on him.” Fix: build counter-strafe discipline with a drill: move left-right, stop cleanly, fire a burst, repeat. If you’re uncertain, slow down.
Mistake: panic spraying after the first miss
Symptom: fights turn into uncontrolled mouse drags. Fix: adopt a rule—if your first burst misses at medium range, reset and burst again. Your goal is to keep fights “clean.”
Mistake: over-flicking
Symptom: you snap past heads, then correct back. Fix: train “slow aim” for a week—deliberate head taps, calm corrections, and fewer wild flicks. You’re building control, not highlights.
Mistake: practicing without a goal
Symptom: you play DM and feel warmed up, but don’t improve long-term. Fix: pick one micro-goal per session (example: head-level only, or bursts only, or clearing angles properly). Track it.
Daily Routine Blueprint (15 / 30 / 60 minutes)
The best routine is the one you can repeat. Choose the time block you can realistically do most days. Consistency beats intensity.
Option A: 15-Min “Minimum Effective Dose”
- 2 min — Warm hands: easy flicks/micro-corrections, no pressure.
- 5 min — Crosshair placement walk-through (no shooting): clear angles, head-level lock.
- 6 min — Short DM focus: burst-only at medium range, head-level priority.
- 2 min — Quick review: what felt off? write one sentence (yes, literally).
Option B: 30-Min “Balanced Builder”
- 5 min — Aim warmup (controlled taps/bursts).
- 10 min — Crosshair placement + pre-aim route (one map route).
- 10 min — DM: focus theme (example: counter-strafe + burst discipline).
- 5 min — Recoil drill: first 10 bullets control + 3 spray transfers.
Option C: 60-Min “Serious Climb”
- 10 min — Warmup: micro-corrections, tap rhythm, calm aim.
- 15 min — Prefire routes (one map, both sides if possible).
- 15 min — DM block 1: headshot focus, crosshair placement discipline.
- 10 min — Recoil block: bursts and controlled sprays at multiple ranges.
- 10 min — DM block 2: “match simulation” (play for survival, take smart fights).
How to choose your DM focus theme
Each day, pick one theme so you aren’t practicing everything at once:
- Head-level only (no exceptions)
- Burst discipline (avoid spray unless close)
- Counter-strafe timing (stop cleanly before every shot)
- Angle clearing (slice angles, no wide exposure)
- Recoil transfers (two-target sprays when possible)
Weekly Progress Plan + Metrics
Aim improvement feels “invisible” unless you track something. Don’t obsess over stats—track a few simple signals that reflect your mechanics.
Week 1: Placement first
- Goal: head-level placement becomes automatic.
- Metric: in DM, count how often your first bullet is near head level (estimate is fine).
- Focus: slow, clean clearing and disciplined pre-aim zones.
Week 2: Burst control
- Goal: reduce panic sprays at medium range.
- Metric: number of fights where you successfully burst-reset-burst (instead of spraying).
- Focus: controlled 2–5 bullet bursts + reset timing.
Week 3: Movement integration
- Goal: cleaner counter-strafe in real fights.
- Metric: fewer “running bullets” moments (self-awareness is the metric).
- Focus: peeking discipline and stopping accuracy.
Week 4: Match transfer
- Goal: aim holds under pressure.
- Metric: clutch confidence and first-duel success (not K/D).
- Focus: taking good fights, not all fights.
If you want a structured competitive progression mindset, reading about deliberate practice and performance routines can help. A solid general reference is the concept of deliberate practice popularized by experts like Anders Ericsson; reputable summaries can be found via major educational outlets (for example, American Psychological Association discussions often cover learning science). Keep the concept simple: focus, feedback, repetition, rest.
In-Match Checklist: Turning Practice into Elo
The most common reason people “practice aim” but don’t climb is that they revert to old habits in ranked. Use this simple checklist.
Before the round starts
- Where is my first duel likely to happen?
- What is the most dangerous angle?
- Am I choosing fights that suit my weapon (tap/burst/spray)?
During peeks
- Crosshair is already at head level before I swing.
- I’m not exposing myself to multiple angles at once.
- I stop before I shoot (or I’m intentionally firing while close-range moving).
After the first bullet
- If my burst misses at medium range, I reset instead of panic spraying.
- If I get a kill, I reposition or prepare for the trade (don’t freeze).
- I don’t re-peek the same angle immediately after missing with AWP.
After the round
- Was it mechanics or decision-making?
- Did I lose because my crosshair started wrong?
- What one adjustment would have changed that duel?
Mindset and Consistency: How to Stop “Good Days Only” Aim
Warmup is not practice
Warmup prepares you to play now. Practice changes your skill long-term. Many players only warm up. If you want real improvement, dedicate at least 10 minutes per day to deliberate practice.
Fatigue ruins aim quality
If you grind while tired, you reinforce bad form. Stop earlier and come back tomorrow. Short, sharp reps beat long, sloppy reps.
Confidence comes from a system
When you have a routine, you stop guessing why you’re missing. You know what to do: tighten placement, reset bursts, clean counter-strafe. Your confidence becomes mechanical, not emotional.
FAQ
How long until I see results?
Most players feel noticeable improvement in 1–2 weeks if they practice consistently (even 15–30 minutes daily). The bigger transformation—where good aim feels “normal”—usually takes several weeks of stable routine.
Should I change my sensitivity if I’m inconsistent?
Only if your current sensitivity is clearly extreme for you (you can’t micro-adjust, or you can’t turn reliably). Otherwise, inconsistency is usually crosshair placement and movement discipline—not sens.
Is deathmatch enough?
DM is great, but it’s not complete. You still need crosshair placement routes, recoil drills, and match-like decision-making. DM teaches fighting; it doesn’t automatically teach angle clearing and timing.
What’s the single best drill?
Crosshair placement walk-through (no shooting) plus a focused DM block (burst discipline) is the highest value combination for most players.
Next Step
If you want to climb faster while keeping your account safe and your schedule manageable, consider a structured, goal-based improvement plan with experienced players. You can also explore CS2 services here: https://boosteria.org/cs2-boosting/prices
For additional trustworthy learning resources and community discussion, you can browse: HLTV (pro scene, stats, demos) and Liquipedia Counter-Strike (tournaments, teams, terminology). Watching pro demos with a focus on crosshair placement and peeking discipline is one of the best “free” ways to sharpen your understanding of angles and timing.