Overwatch 2 Hero Pool Builder: 2 Picks Per Role
Overwatch 2 — Hero Pool Builder: 2 Picks Per Role to Cover Most Comps
If you want to climb in Overwatch 2 without feeling “forced” to learn half the roster, you need a hero pool that gives you answers to most situations while keeping your practice focused. This guide shows you how to build a two-picks-per-role pool that covers the big composition families (dive, brawl, poke), handles common ranked problems (flyers, heavy flanks, bunker spam), and stays useful even as balance patches shift the meta.
We’ll do it in a timeless way: instead of chasing weekly tier lists, you’ll learn a coverage framework (what your team needs, what the enemy is doing, what the map demands), then plug in two reliable heroes per role as your default toolkit. You’ll also get clear swap rules, mini playbooks, and a practice plan to actually improve—because a “good hero pool” only matters if you can execute.
Table of Contents
- Why a Small Hero Pool Works (and When It Doesn’t)
- What “Coverage” Means in Overwatch 2
- The 3 Composition Families: Dive, Brawl, Poke
- The Two-Picks-Per-Role Method
- The Core Six (Recommended 2 Picks Per Role)
- Tank Pick A: D.Va (Initiator Control & Peel)
- Tank Pick B: Ramattra (Stalwart Tempo & Choke Pressure)
- Damage Pick A: Soldier: 76 (Consistent Hitscan Pressure)
- Damage Pick B: Tracer (Flank, Finish, and Disrupt)
- Support Pick A: Baptiste (Stabilize, Poke, and Save)
- Support Pick B: Kiriko (Cleanse, Burst, and Mobility)
- Fast Swap Rules (If-Then Playbook)
- Map & Objective Rules: Picking Before the Doors Open
- Ready-Made Comp Recipes Using the Core Six
- Practice Plan: How to Improve Without Expanding the Pool
- Common Mistakes That Make Any Pool Fail
- FAQ
- Next Steps
Why a Small Hero Pool Works (and When It Doesn’t)
Most ranked players lose games because their fundamentals are inconsistent: positioning, timing, cooldown trading, target priority, and awareness. A huge hero roster doesn’t solve those problems—it often hides them. A compact hero pool does the opposite: it forces repetition, and repetition builds clean habits.
A small pool works best when:
- You want faster improvement by repeating the same matchups and learning them deeply.
- You play solo/duo often and need self-sufficient heroes who create value without perfect coordination.
- You want clear decision-making: “I pick Hero A when the game is about X; Hero B when it’s about Y.”
A small pool struggles when:
- You only pick “comfort” even when the lobby clearly needs a different tool (anti-flyer, anti-dive, long-range).
- Your two picks are too similar (same range, same job, same weaknesses), so you still have no answers.
- You refuse to swap when the problem is obvious and repeatable (for example: you cannot touch high ground, or you cannot survive the same flanker pattern).
The goal of this guide is to avoid those traps by choosing two complementary heroes per role—not two favorites that do the same thing.
What “Coverage” Means in Overwatch 2
“Coverage” is your ability to handle the most common game states you will see in ranked. It’s not about being perfect into everything; it’s about not being helpless in predictable situations. In Overwatch 2, coverage usually comes from answering these five questions:
- How do we start fights? (engage, poke, or punish mistakes)
- How do we survive the enemy’s first move? (peel, saves, defensive cooldowns)
- How do we control space? (chokes, high ground, objective zones)
- How do we confirm kills? (burst windows, chase tools, anti-heal/cleanse interactions)
- How do we win the next 30 seconds? (ultimate plan, tempo, recontest tools)
When you build a two-pick pool, you’re trying to cover those questions across different maps and matchups with minimal complexity.
Timeless rule: instead of thinking “What is meta?”, think “What does this lobby require?” Meta shifts; requirements do not.
The 3 Composition Families: Dive, Brawl, Poke
Dive
Goal: collapse onto isolated targets using mobility, angles, and synchronized bursts.
Signals you’re in a dive game: lots of high ground, multiple flank routes, backlines that can be reached, and teammates picking mobile heroes.
What dive needs: a tank who can reach/contest high ground, at least one DPS who can finish and escape, and supports who can keep up or survive pressure.
Brawl
Goal: win tight space with sustain, close-range threat, and clean “go” timings.
Signals you’re in a brawl game: narrow chokes, short sightlines, objective zones that force stacking, and teammates picking close-range heroes.
What brawl needs: a tank who owns the objective and denies space, DPS that punish anyone who steps too close, and supports with strong mid-fight saves.
Poke
Goal: pressure from range, drain resources, then convert an advantage into objective progress.
Signals you’re in a poke game: long sightlines, open lanes, high ground platforms, and enemies who struggle to close distance safely.
What poke needs: a tank who can hold angles and survive spam, DPS that reliably damage from range, and supports that stabilize while contributing damage/utility.
You don’t need to become a “dive player” or a “brawl player” forever. You need a pool that can shift jobs based on the map and lobby.
The Two-Picks-Per-Role Method
Here is the simplest coverage model that works for most ranks:
- Pick A = Your Default Value Hero (consistent, low-drama, always useful)
- Pick B = Your Problem-Solver (covers your default’s main weakness or unlocks a different comp family)
To keep this timeless, we choose heroes with these traits:
- Self-sufficiency: you can live and contribute without perfect team resources.
- Clear “job”: you always know what you’re doing in a fight.
- Map flexibility: you can function on many layouts (not just one map type).
- Tool-based value: you bring unique utility (saves, cleanse, denial, peel) not just raw damage numbers.
- Stable skill growth: practicing the hero makes you better long-term (positioning, timing, mechanics) instead of only patch-specific tricks.
Extra timeless tip: if the game introduces new sub-roles or role passives, use that as a guide for coverage. Picking two heroes from different sub-roles usually increases your toolbox.
The Core Six (Recommended 2 Picks Per Role)
This is a practical, ranked-friendly “Core Six” that covers most comps and common threats:
Tank (2 picks)
- D.Va — mobility, high ground control, peel, anti-projectile denial, tempo engages.
- Ramattra — strong choke pressure, flexible range-to-brawl pattern, objective presence, reliable fight pacing.
Damage (2 picks)
- Soldier: 76 — consistent hitscan pressure, self-sustain, stable value on most maps.
- Tracer — flanks, cleanup, backline disruption, forces cooldowns, wins messy fights.
Support (2 picks)
- Baptiste — stabilization, strong defensive save tools, reliable poke damage, safe positioning patterns.
- Kiriko — cleanse, burst healing, mobility to match tempo, dueling potential to survive pressure.
Why this works: each role gets one hero that thrives in structured fights and one hero that thrives in chaos or dynamic angles. Together, they handle most ranked game states: high ground problems, flanker pressure, sustain wars, and conversion of small advantages into teamfight wins.
Coverage Grid (Quick View)
| Game Need | Tank | Damage | Support |
|---|---|---|---|
| Contest high ground / vertical maps | D.Va | Soldier: 76 / Tracer | Kiriko |
| Hold chokes / objective brawls | Ramattra | Soldier: 76 | Baptiste |
| Kill backline / punish isolated targets | D.Va | Tracer | Kiriko |
| Survive burst / stabilize chaos | Ramattra | Soldier: 76 | Baptiste / Kiriko |
| Deal with flyers or wide angles | D.Va (pressure + contest) | Soldier: 76 | Baptiste |
| Anti-dive survivability | Ramattra (zone + pressure) | Soldier: 76 (self-peel) | Kiriko (cleanse) / Baptiste (save) |
Now let’s build mastery: what each hero’s job is, how to think, and when to swap.
Tank Pick A: D.Va (Initiator Control & Peel)
Core identity: D.Va is the tank you pick when the map is vertical, when the enemy has valuable high ground, or when your team needs someone to erase burst windows by denying key projectiles and peeling for supports.
Your job on D.Va
- Own high ground: contest it early, force the enemy off, and keep recontesting on cooldown.
- Protect your backline: peel when a flanker commits; don’t “chase forever,” just break the kill attempt.
- Create short burst windows: pressure a target at the moment your team can see them, then reset.
- Manage risk: you can be aggressive, but you must respect overextension because losing mech at the wrong time collapses teamfight structure.
When D.Va is the correct pick
- The map has strong high ground platforms and long rotations to reach them.
- The enemy relies on projectiles or burst windows you can deny with timely defense.
- Your supports are being hunted by flankers and need a bodyguard who arrives instantly.
- Your team wants to dive or play fast tempo (even if not perfectly coordinated).
How to play fights (simple loop)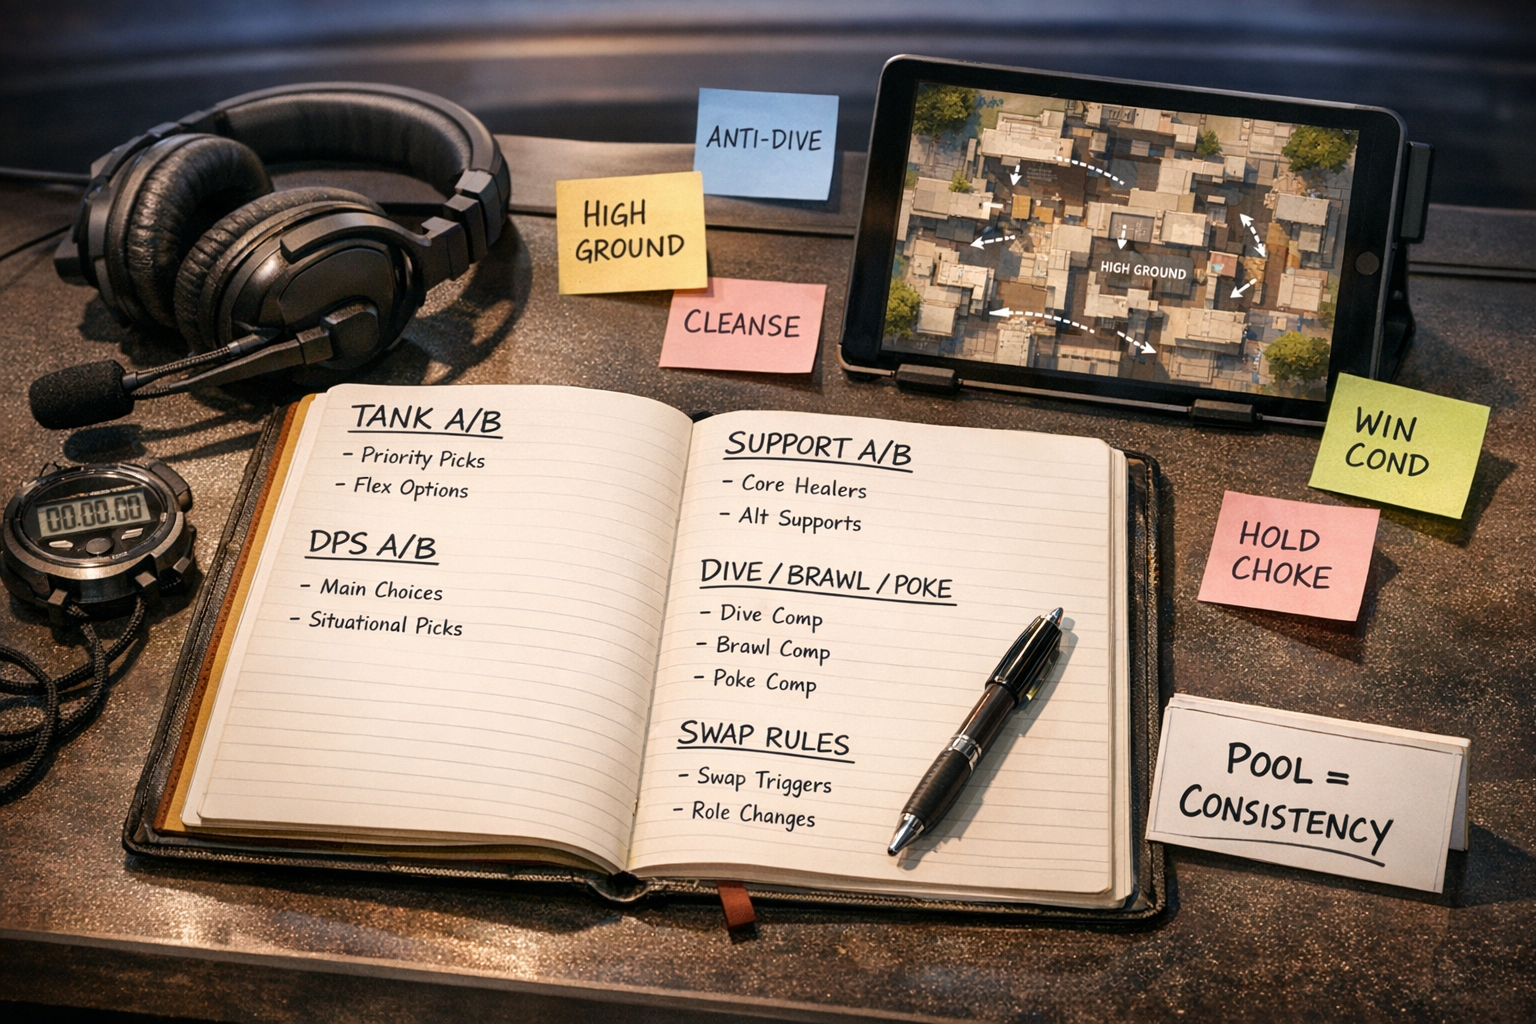
- Pre-fight: take high ground first. If you arrive late, you fight uphill the whole time.
- Scout: identify the most valuable angle (enemy hitscan perch, support corner, or objective sightline).
- First contact: deny the first burst window, then pressure their weakest link (often a squishy holding an angle alone).
- Reset: do not stay too long. D.Va wins by repeating short “pressure cycles,” not by slow walking into five enemies.
- Peel check: every few seconds, glance back: if your support line is being collapsed on, your next move is peel.
Common D.Va mistakes
- Chasing kills past your team’s line of sight. If your DPS cannot follow, you’re donating resources.
- Ignoring your supports. If your backline dies first, your aggression never matters.
- Using mobility only to engage. Mobility is also your escape plan; keep a mental exit route.
- Playing low ground by default. On vertical maps, low ground is the tax you pay when you lose the setup.
Mini playbook: what to do when…
- …your team can’t cross a sightline: deny the angle for two seconds, let your team rotate, then reset.
- …a flanker repeats the same backline pattern: wait for the commit, then peel hard; you’re not trying to kill them every time—just stop the kill.
- …enemy supports are free-casting: pressure their support angle, force cooldowns, then back out before you get punished.
D.Va in your hero pool: she is your answer to verticality, high ground, and protecting teammates from burst windows. If your Ramattra plan feels slow or you cannot touch key positions, D.Va is your swap.
Tank Pick B: Ramattra (Stalwart Tempo & Choke Pressure)
Core identity: Ramattra is the tank you pick when the fight is about owning the objective, pressuring a choke, and forcing the enemy to give ground. He also provides a clean “range-to-brawl” rhythm: soften from safer positions, then step forward when resources and timing are right.
Your job on Ramattra
- Control a lane: make one important area unsafe for the enemy to stand in.
- Force resources: pressure until they spend key cooldowns, then walk them down or take space.
- Anchor your team: you’re the front line that decides when it’s safe to move forward.
- Win recontests: Ramattra excels when teams must touch and fight in a tight objective zone.
When Ramattra is the correct pick
- Short to medium sightlines with meaningful chokes.
- Objective fights that require standing your ground.
- Your team wants slower, structured fights rather than constant chasing.
- You need a tank that can pressure without relying on perfect dives.
How to play fights (simple loop)
- Pre-fight: choose a lane that lets your supports see you safely.
- Drain phase: apply pressure while minimizing risk. Your goal is to make them spend resources early.
- Go phase: once they are low on key cooldowns, step forward to take space and threaten eliminations.
- Stabilize: if you get focused hard, don’t panic—slow down, protect your health, and keep your team’s sightlines intact.
- Convert: when you force them back, take the next piece of space immediately (corner, choke, objective position).
Common Ramattra mistakes
- Going “all in” too early. If you commit before the enemy spends resources, you become the easiest focus target.
- Breaking support sightlines. If you walk around a corner where your supports can’t see you, you’re gambling.
- Not rotating with the team. Ramattra is strong in structured fights; if your team rotates, you rotate too.
- Staying passive after winning space. Space only matters if you keep it—take the next corner, don’t admire your progress.
Mini playbook: what to do when…
- …they play heavy poke: use cover discipline and take space in small bites. Don’t cross open ground without a plan.
- …they run dive: keep fights near corners and your supports; punish divers who overstay with focused damage.
- …your team wants to brawl: simplify your plan: hold choke, force cooldowns, then push together on your “go” timing.
Ramattra in your hero pool: he is your answer to chokes, objective fights, and structured tempo. If D.Va feels like you’re constantly flying around without progress, Ramattra gives you a stable win condition: space, sustain, and pressure.
Damage Pick A: Soldier: 76 (Consistent Hitscan Pressure)
Core identity: Soldier: 76 is your “always playable” damage hero: he pressures tanks, punishes poor positioning, helps with flyers, and can take angles safely. In ranked, consistency is power—and Soldier rewards consistent fundamentals more than flashy one-off plays.
Your job on Soldier: 76
- Hold an angle that matters: your goal is not maximum damage; it’s maximum useful damage.
- Pressure targets your tank is pressuring: shared focus turns damage into eliminations.
- Control space with threat: if your aim is stable, enemies can’t walk freely through open lanes.
- Stay alive: Soldier gets value over time. Dying early deletes your team’s ability to convert pressure.
When Soldier: 76 is the correct pick
- You need reliable hitscan presence (flyers, wide angles, squishies peeking).
- The lobby is chaotic and you want steady value instead of high-risk plays.
- Your team lacks sustained damage or cannot finish targets consistently.
- You need self-sustain so supports can spend resources elsewhere.
How to play fights (simple loop)
- Pre-fight: take a safe angle with cover and an exit path.
- First pressure: poke their squishies when they peek; force them to respect your lane.
- Mid-fight: follow your tank’s pressure target. If your tank makes space, you occupy it.
- Cleanup: Soldier shines in cleanup—keep your crosshair calm and finish low targets.
- Reset: rotate with your team; don’t get stranded on an island after the fight moves.
Common Soldier: 76 mistakes
- Standing in the open “because you can heal.” Self-sustain is not invulnerability.
- Shooting the tank forever. Tank pressure is good, but swap to squishies the moment they’re exposed.
- Taking angles with no exit. In ranked, someone will flank you eventually.
- Not helping with flyers. If your team is getting farmed by air threats, Soldier is often your simplest answer.
Soldier in your hero pool: he’s the default value pick that covers range problems. If Tracer feels too risky for the lobby’s chaos, Soldier gives you steady wins through fundamentals.
Damage Pick B: Tracer (Flank, Finish, and Disrupt)
Core identity: Tracer is your “problem-solver” DPS: she breaks stalemates, punishes isolated targets, forces cooldowns, and turns messy fights into wins by finishing low enemies. If Soldier is your stable hammer, Tracer is your scalpel.
Your job on Tracer
- Force attention: make enemies turn around, waste cooldowns, or give up angles.
- Finish kills: you’re one of the best heroes for confirming eliminations on low targets.
- Disrupt supports: you don’t always need to kill them—sometimes “no healing for 2 seconds” wins the fight.
- Survive: Tracer value comes from repeatable pressure cycles, not one heroic death trade.
When Tracer is the correct pick
- The enemy has a backline that is reachable and relies on steady healing/positioning.
- Your team is stuck at a choke and needs someone to threaten a side angle.
- You need cleanup and chase power to end fights faster.
- The map has flank routes and cover that support short, repeated engagements.
How to play fights (simple loop)
- Pre-fight: take a safe flank that still lets you escape to your team.
- Scout: identify the “free” target: someone alone, low mobility, or already pressured.
- Commit briefly: pressure for a short window, then reset before you get traded.
- Sync: attack when your tank applies pressure. Tracer is strongest when the enemy is already busy.
- Finish: watch health bars and confirm kills—this is how Tracer wins ranked games.
Common Tracer mistakes
- Long duels. Tracer is not built for endless 1v1s in the open; she’s built for short bursts and resets.
- Engaging first every fight. If you always start the fight, you become predictable and get trapped.
- Ignoring the objective. Flank value matters only if your team can convert it into space or kills.
- Overcommitting after a good start. Winning the first seconds doesn’t mean you should stay until you die.
Tracer in your hero pool: she’s your answer to stalemates and backline value. If Soldier can’t break a bunker-style hold, Tracer often can by forcing attention and creating kill windows.
Support Pick A: Baptiste (Stabilize, Poke, and Save)
Core identity: Baptiste is the support you pick when fights are about staying alive through burst, holding space under pressure, and stabilizing teammates long enough for your DPS to work. He fits poke and brawl especially well because he can contribute meaningful damage while keeping allies up.
Your job on Baptiste
- Keep the fight stable: avoid panic cycles where your team collapses instantly.
- Save key moments: use your defensive tools for the enemy’s “go” windows, not for random chip damage.
- Hold a strong angle: Baptiste is best when he can see the fight clearly from a safe position.
- Deal damage safely: contributing damage accelerates wins; just don’t die for it.
When Baptiste is the correct pick
- Your team is taking heavy poke or burst and needs stabilization.
- Objective fights force close-range brawls and rapid health swings.
- You want a support that can help pressure flyers/angles when DPS are busy.
- Your lobby is chaotic and teammates overpeek—Baptiste gives you more “save power.”
Support fundamentals that make Baptiste shine
- Corner discipline: play near cover so you can break line of sight instantly.
- High ground preference: whenever possible, take vertical positions that improve vision and safety.
- Cooldown patience: hold your lifesaving tools until the enemy truly commits.
- Target triage: stabilize the teammate who enables the team (often tank first, then the DPS in position).
Common Baptiste mistakes
- Using saves too early. If you spend your best tool on minor damage, you lose the real fight window.
- Over-DPSing. Damage is great, but your first job is keeping the fight alive.
- Standing where you can’t see your tank. If the tank is out of your view, your team loses structure fast.
- Ignoring flank threats. Supports must track flank timing; if you get surprised, you lose value instantly.
Baptiste in your hero pool: he’s your “stability engine.” When fights are exploding quickly, Baptiste helps your team survive long enough to win.
Support Pick B: Kiriko (Cleanse, Burst, and Mobility)
Core identity: Kiriko is your flexible support who covers problems Baptiste can’t: cleanse value, fast repositioning, and survivability under dive pressure. She’s also excellent at supporting tempo plays because she can arrive where the action is and help a teammate survive a commit.
Your job on Kiriko
- Protect teammates from decisive effects: cleanse or negate fight-swinging moments.
- Follow tempo: be present where the fight matters, not stuck in the back while your tank commits.
- Win support duels: survivability matters; if you live, you keep the team alive.
- Enable aggression: Kiriko often turns risky pushes into winning pushes by keeping allies standing during the “go.”
When Kiriko is the correct pick
- The enemy has strong dive/flank pressure and you need mobility to survive.
- Your team wants to play faster tempo and you need to keep up.
- You need cleanse-style utility to protect against common ranked “burst + status” moments.
- You want a support that can contribute to kills when opportunities appear.
Common Kiriko mistakes
- Using cleanse reactively every time. Sometimes the best cleanse is pre-planning: don’t stand where you must panic-cleanse.
- Teleporting into bad fights. Mobility doesn’t mean you should join a lost fight; it means you can join a good one safely.
- Forgetting the basics. Kiriko can duel, but healing and fight timing still win games more consistently.
- Chasing damage too long. Short damage windows are great; prolonged duels can cost your team the main fight.
Kiriko in your hero pool: she’s your “anti-chaos” support. When the lobby is full of flankers, divers, and unpredictable engages, Kiriko helps you stay alive and keep teammates alive through the most dangerous seconds.
Fast Swap Rules (If-Then Playbook)
To make a two-pick pool work, you need fast, repeatable swap rules. Use these like a checklist between fights.
Tank swaps
- If you cannot contest high ground or your supports are being farmed by flankers → pick D.Va.
- If the fight is stuck at a choke or objective and you need steady forward pressure → pick Ramattra.
- If you’re winning duels but not taking space → swap to Ramattra and “own” the next corner.
- If you’re taking space but your backline keeps dying first → swap to D.Va and peel cycles.
Damage swaps
- If flyers or long angles are the problem → pick Soldier: 76.
- If your team can’t break a hold or you need backline pressure → pick Tracer.
- If you’re doing damage but no one dies → pick Tracer and focus on confirming kills.
- If you’re dying on flanks repeatedly → pick Soldier and play safer angles with cover.
Support swaps
- If your team is getting burst down and needs stabilization → pick Baptiste.
- If you’re being hard-dived or need mobility/cleanse utility → pick Kiriko.
- If fights are slow and poke-heavy → Baptiste often gives more stable value.
- If fights are fast and messy → Kiriko often keeps you alive longer.
One timeless swap rule: swap to solve the problem you can name in one sentence. “We can’t hold high ground.” “Our backline dies first.” “No one finishes kills.” If you can’t name the problem, don’t panic swap—adjust positioning first.
Map & Objective Rules: Picking Before the Doors Open
You can win more games by picking correctly before the first fight than by out-aiming later. Use this simple map logic:
1) Is vertical control a win condition?
- If yes, prioritize D.Va, Soldier: 76 angles, and Kiriko mobility.
- If no, and the map is tighter with chokes, Ramattra and Baptiste stabilize fights.
2) Do sightlines reward range?
- If yes, Soldier: 76 becomes more valuable, and Baptiste often stabilizes poke wars.
- If no (tight interiors), Tracer becomes more valuable for disruption and cleanup.
3) Is the objective a “stand here and fight” zone?
- If yes, Ramattra + Baptiste patterns are often strong because they excel in sustained objective fights.
- If the objective creates split fights and rotations, D.Va + Kiriko mobility becomes more valuable.
This approach stays evergreen because it relies on map geometry and objective rules—things that change far less often than hero balance numbers.
Ready-Made Comp Recipes Using the Core Six
These “recipes” are not strict meta rules. They’re practical patterns you can recognize and support with your hero pool.
Recipe 1: Ranked Dive-Tempo (Mobility + Cleanup)
- Tank: D.Va
- Damage: Tracer + (any teammate who can follow or pressure)
- Support: Kiriko + (Baptiste can work if positioned safely, but Kiriko is the tempo glue)
Win condition: isolate a target, force cooldowns, then finish. Don’t take long brawls in open space. Take high ground early, then collapse.
Recipe 2: Stable Brawl (Choke Ownership)
- Tank: Ramattra
- Damage: Soldier: 76 (steady pressure) + (any close-range ally)
- Support: Baptiste + Kiriko
Win condition: survive the first burst, then walk forward together. Your team wins by controlling corners and forcing enemies into bad touches.
Recipe 3: Poke-to-Push (Drain then Convert)
- Tank: Ramattra (or D.Va if high ground is everything)
- Damage: Soldier: 76
- Support: Baptiste
Win condition: pressure from safe angles, force resources, then take the next piece of space. Don’t sprint into the open; convert advantage step-by-step.
Recipe 4: Anti-Flank Safety (Protect the Backline)
- Tank: D.Va (peel cycles)
- Damage: Soldier: 76 (self-peel angle) or Tracer (mirror pressure)
- Support: Kiriko (survive pressure) + Baptiste (stabilize)
Win condition: deny the enemy’s first flanker kill, then win the main fight with superior resources.
Practice Plan: How to Improve Without Expanding the Pool
A two-pick pool is powerful because it turns improvement into a schedule. Here’s a timeless weekly structure you can repeat every season.
Daily (30–45 minutes) — Mechanics + Reps
- 10 minutes: aim warm-up for your DPS pick of the day (Soldier tracking, Tracer close-range control).
- 10 minutes: hero-specific movement drill (D.Va high ground routes, Kiriko reposition patterns).
- 10–25 minutes: ranked or scrim games where you commit to your pool and apply one focus goal.
Focus goals (rotate 1 per day)
- Positioning: “I will never fight without cover within one step.”
- Cooldown timing: “I will hold my best save tool for the enemy’s commit window.”
- Target priority: “I will shoot what my tank is pressuring unless a squishy is free.”
- Fight timing: “I will only hard commit when my team can see the target.”
Weekly (45–60 minutes) — Review
Pick one loss and answer these three questions:
- What was the repeated problem? (example: “supports died first,” “no high ground,” “no finish”)
- Which of my two picks solves it? (swap rule check)
- What is the one habit I must change? (position, timing, or cooldown discipline)
If you do this every week, your hero pool becomes a growth engine, not just a list of characters.
Common Mistakes That Make Any Pool Fail
- Too many “panic swaps.” Swapping without naming the problem usually makes you worse, not better.
- Ignoring the map. Many losses come from losing high ground or corner structure early.
- Trying to do everything. Each hero has a job—do the job, and you’ll climb faster.
- Not syncing with your tank. Damage and supports get much stronger when they follow tank tempo instead of playing independent mini-games.
- Over-focusing counters. In ranked, fundamentals beat “counter charts.” Swap when the counter is causing repeatable, unavoidable losses—not because you saw a scary hero name.
FAQ
Is two heroes per role really enough?
For most ranked players, yes—because the limiting factor is rarely “not enough heroes,” it’s inconsistent fundamentals. Two complementary picks per role keeps learning efficient while still giving you answers to most comps.
What if the meta changes?
Meta changes affect which heroes are strongest, not which jobs exist. Your pool is built around jobs (high ground control, choke pressure, stability, cleanup). If a patch heavily nerfs one pick, you replace it with another hero that does the same job—without changing your whole system.
Do I need a sniper in my DPS pool?
Not for most ranks. Snipers can dominate certain maps, but they also demand very high consistency. Soldier: 76 covers many “range problems” without forcing you into a high-variance playstyle. If you love snipers, you can later replace Soldier with a long-range sharpshooter, but keep your two-pick structure intact.
What if my team wants something I can’t play?
Use the closest job match. If they want “more brawl,” Ramattra and Baptiste usually move you in that direction. If they want “more dive,” D.Va, Tracer, and Kiriko usually do. You don’t need perfect comps—just fewer missing tools.
How do I stop getting farmed by flankers?
First: change your positioning (closer to cover, closer to teammates, better sightlines). Second: adjust your hero pick (Kiriko for survivability/cleanse, D.Va for peel cycles, Soldier for safer angles). Third: track timing—most flanks are predictable when you watch respawn and rotation patterns.
Next Steps
If you want faster progress, treat your hero pool like a training plan: play fewer heroes, review your losses, and apply one focus goal each session. That’s how most consistent climbers improve.
If you’d rather skip the trial-and-error and get help reaching your rank goals, you can check Boosteria’s Overwatch options here: Overwatch Boosting Prices.
Recommended official references for keeping this guide evergreen: